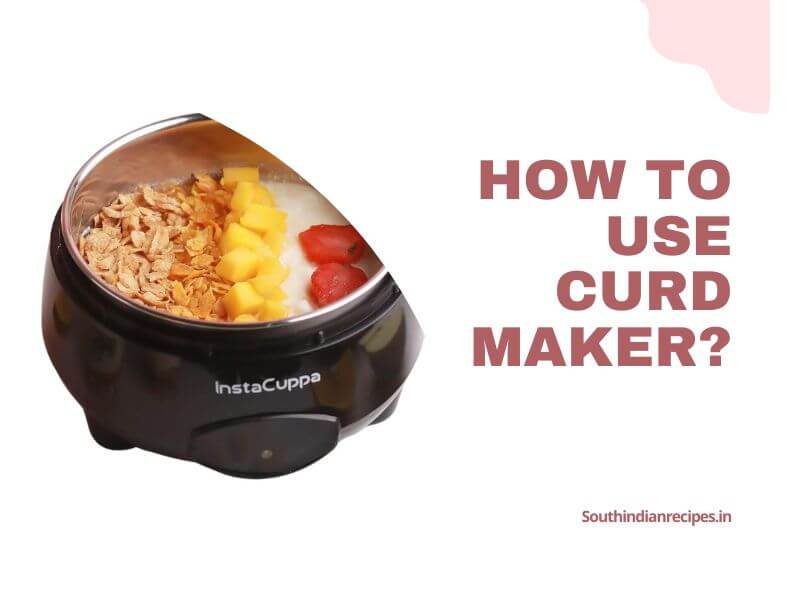
Do you want to know the secret to making fresh, delicious curds at home? With a curd maker, you can whip up fabulous yogurt treats in no time and elevate your kitchen skills to the next level. Perfect for passionate chefs, busy mums and aspiring cooks alike – this convenient appliance delivers creamy results every time! Find out just how easy it is to start crafting homemade delicacies with our ultimate guide on how to use a curd maker.
Contents
The Basic Components of a Curd Maker
A curd maker is an essential tool for creating delicious dairy-based dishes and desserts. It consists of a few basic components that are necessary for the successful production of curds.
- The first component is a large, stainless steel pot that can hold up to ten quarts of milk or cream.
- The second component is an acidifying agent such as lemon juice, vinegar, or cultured buttermilk. This is used to change the pH of the milk and cause it to curdle.
- The third component of a curd maker is a stirring spoon that helps incorporate the acidifying agent into the mixture and evenly distribute it throughout. The fourth component is a long-handled skimmer which allows you to scoop out any proteins or fats that may have formed during the process.
- Finally, some curd makers come with an optional thermometer for gauging temperature before and after adding the acidifying agent. It’s important to ensure that your curds are not overcooked, so having a thermometer can help prevent this from happening.
With these basic components, you can easily create delicious and creamy curds for whatever culinary creation you have in mind.
Learn How To Use The Curd Maker’s Settings
Using the Curd Maker’s Settings is an easy way to ensure you get the best possible curd experience. With its intuitive design, the settings offer a wide range of adjustments for the type of curd desired and how it will be used.
The first thing to note is that there are three main categories: Freshness, Hardness and Texture.
1. Freshness
Freshness determines how long-lasting the curd will be.
2. Hardness
Hardness will determine how firm or soft it will be.
3. Texture
Texture allows users to adjust the fineness and coarseness of the curd depending on their preference.
Under each category are several options which can be adjusted independently to suit whatever individual tastes or needs may require. For example, under Freshness, one can select between “shelf stable” and “refrigerated”, while under Hardness one has options like “soft” or “firm”.
Furthermore, for those who want something more specific than these presets offer, there is an additional custom setting where users can manually tweak every component from sour to sweet as well as tweak other elements such as acidity levels in order to get their desired results.
Overall, with its user-friendly interface and comprehensive settings, the Curd Maker ensures anyone can easily craft a delicious batch of curds just the way they want it!
Preparing and Cooking With Your Curd Maker
Preparing and cooking with a curd maker is a great way to make delicious homemade cheese. There are many different types of curd makers available, ranging from basic models to more complex, multi-functional machines. No matter what type you choose, the process of making cheese with a curd maker is fairly straightforward.
- To begin, measure out your ingredients – usually milk, vinegar and cultures – in accordance with the instructions for your particular machine. Depending on the model you have chosen, some ingredients may need to be pre-heated before being added to the machine.
- Once all of your ingredients are combined in the curd maker’s container or pot, seal it up and turn it on. Different machines will have different settings that you’ll need to adjust depending on the type of cheese you’re trying to make – soft cheeses like ricotta will require shorter cooking times compared to harder cheeses like cheddar.
- Once the timer has gone off and your cheese has finished cooking inside the curd maker, take it out and transfer it into a bowl or other container – if making something like mozzarella or ricotta curds, these can be eaten immediately as they are by themselves or used in other recipes.
- For hard cheeses like cheddar and Parmesan however, place them onto a cheese cloth-covered board so that any extra moisture is removed before being aged in an area with humidity control (like inside your refrigerator) for several weeks before being ready for consumption.
- Making delicious handmade cheese from scratch doesn’t get much easier than using a curd maker! With minimal effort required on your part and very little clean-up afterward, these handy machines make creating flavorful homemade cheeses accessible for even novice chefs.
By following the instructions included with your machine as well as experimenting with different recipes you’ll soon find yourself becoming a master of homemade cheese-making!
With a curd maker, you can make all kinds of cheese. Whether you’re looking for soft and spreadable cheeses such as ricotta or cream cheese, hard-aged cheeses like cheddar and Parmesan, or even specialty cheeses such as feta or gouda – the possibilities are endless! With just a few simple steps and ingredients, your curd maker will help bring out the cheese maker in you. So get ready to explore the world of homemade cheese making and discover delicious recipes that are sure to become family favorites.
Cleaning and Storing your Curd Maker After Use
After using your curd maker, it is essential to clean and store it properly. Below are the steps to clean before storing:
- To start, disassemble the machine and place all components in warm soapy water.
- Allow all the parts to soak for about 15 minutes before scrubbing them with a soft sponge or brush.
- If you have any stubborn residue on any of the components, try to use a non-abrasive cleaner.
- Once all pieces are cleaned and dried, put them back together and turn off the power switch.
Below are the steps to store after cleaning:
- When storing your curd maker, make sure it is kept away from direct sunlight or extreme temperatures. This will help keep the plastic components from deteriorating and ensure that you can use your machine for many years.
- Additionally, be sure to wrap up all cords neatly and avoid putting too much strain on them when packing away your machine.
- Lastly, consider investing in a cover for your curd maker if you’re not going to be using it regularly or plan on traveling with it often. This will help protect the machine from moisture or dust build-up while stored away which can cause damage over time.
Taking care of your curd maker after use is an important part of preserving its performance and longevity – follow these simple steps every time you put it away and you’ll have a fresh batch of curds whenever you’re ready!
Troubleshooting Common Issues with a Curd Maker
Troubleshooting common issues with a curd maker can be a daunting task. However, there are some simple steps you can take to ensure your curd maker is in good working condition and producing the best possible results.
- The first step is to always check that all components of the curd maker are secure and properly connected before use. If any connections appear loose or faulty, it is important to turn off the power before attempting repairs. This ensures that no electric shock occurs during repair and thus avoids potential danger.
- Furthermore, it is essential to clean the appliance thoroughly after each use to avoid any buildup of bacteria or mold. Curd makers are often used for making dairy products that require access to cold temperatures, so it is important to make sure that all seals and connections remain airtight during storage. Any cracks or worn rubber seals should be replaced immediately as this could lead to bacteria growth and spoilage of the product.
- It is also important to regularly check the temperature settings on your curd maker; if they are incorrect then this could result in inconsistent product quality and potentially cause ruined batches of cheese or other items. Check that both heating elements are functioning properly, as well as any relevant dials or settings being set correctly for the type of cheese you are making. Failing this could result in an unsatisfactory end product that fails to meet expected standards.
- Finally, always make sure you have sufficient ingredients – particularly those containing calcium content – when using a curd maker. Calcium helps trigger coagulation and therefore plays an integral role in forming successful batches of cheese or other dairy-based products. Without enough calcium present, your products may lack desired characteristics such as texture and flavor which could significantly reduce their quality levels overall.
Tips for Making Delicious Recipes Using a Curd Maker
Creating delicious recipes with a curd maker can be easy and fun, but there are some tips to keep in mind to ensure that you get the best results.
- First of all, it’s important to select the right ingredients for your recipe. Different curd makers may require different kinds of dairy products like cheese, cream, or yogurt. Your recipe should include one or more of these items, depending on what type of curd maker you have and what flavor you’re trying to achieve.
- Additionally, you should select other ingredients that complement the dairy base such as herbs and spices, fruits and vegetables, nuts and seeds, proteins (e.g., meat or tofu), and grains (e.g., quinoa or rice).
- Next up is the cooking process itself. Make sure that your curd maker is properly preheated before adding any ingredients; this will help ensure even cooking throughout the dish.
- When measuring out ingredients, make sure they are accurately weighed or measured so that each portion has the proper amount of each ingredient.
- As you cook your dish, make sure to stir frequently so that everything gets evenly blended together; this will also help it from sticking to the bottom of your pan or curd maker.
- Finally, don’t forget about the presentation! This is an important step for making delicious recipes no matter what kind of cooking tool you are using. Garnish-like fresh herbs sprinkled over top can add flavor depth as well as great visual appeal for a beautiful final product. Additionally, consider adding colorful accompaniments like diced bell peppers or sliced tomatoes for added nutrition and interest in flavors and textures!
Also Read: – How To Use Electric Curd Maker? Explore Endless Curd Creations With This Versatile Tool!
Conclusion
It’s safe to say that a curd maker can provide you with fresh and delicious curd much faster than you would have ever imagined. The simple steps needed to make an exquisite curd can be done in a short amount of time, and the rewards of light, creamy curd are worth it. Now that you know how to use a curd maker, there is no excuse not to try it for yourself when making cheese dishes or other recipes that will benefit from its added flavour dimension. Experimenting with different kinds of milk, such as soy or almond milk, also encourages creativity in the kitchen. With its easy-to-follow instructions, a curd maker promises delicious results every time – helping you to enjoy store bought cheese products in your own home. So don’t wait any longer; pick up your curd maker today and witness the wonders it can bring!